Tool Specificity and project success

Sometimes when tasked with what should be a simple job we find ourselves taking elaborate and convoluted detours as we must reroute our work to accommodate the lack of tools designed for very specific purposes. My simple bisque stamp for my Mud Quilt project is no exception. My prototype is a prototype not because I needed to work out how to approach the project but rather because I was not able to construct the piece to my liking with the tools that I had at hand.
As you can see below I am making a cube with each of the six sides featuring a common arrangement of basic shapes that are used to form many quilt patterns. The tool that I needed was a slab cutter that could precisely cut 45° angles on my square slabs so that they fit together precisely and formed a strong edge that can withstand the pressure of being pressed into the mud.

I could have ordered the tool delaying my project, but fortunately we have a 3D printer and the skills to design simple objects like this one. An hour and a half after hitting print I was able to string up this simple little tool and cut perfectly beveled clay edges. It works so beautifully that I’ve printed several for each of the ceramic studios so that other student’s slab building can benefit from beautifully beveled edges.

Reflections on Mud Quilts
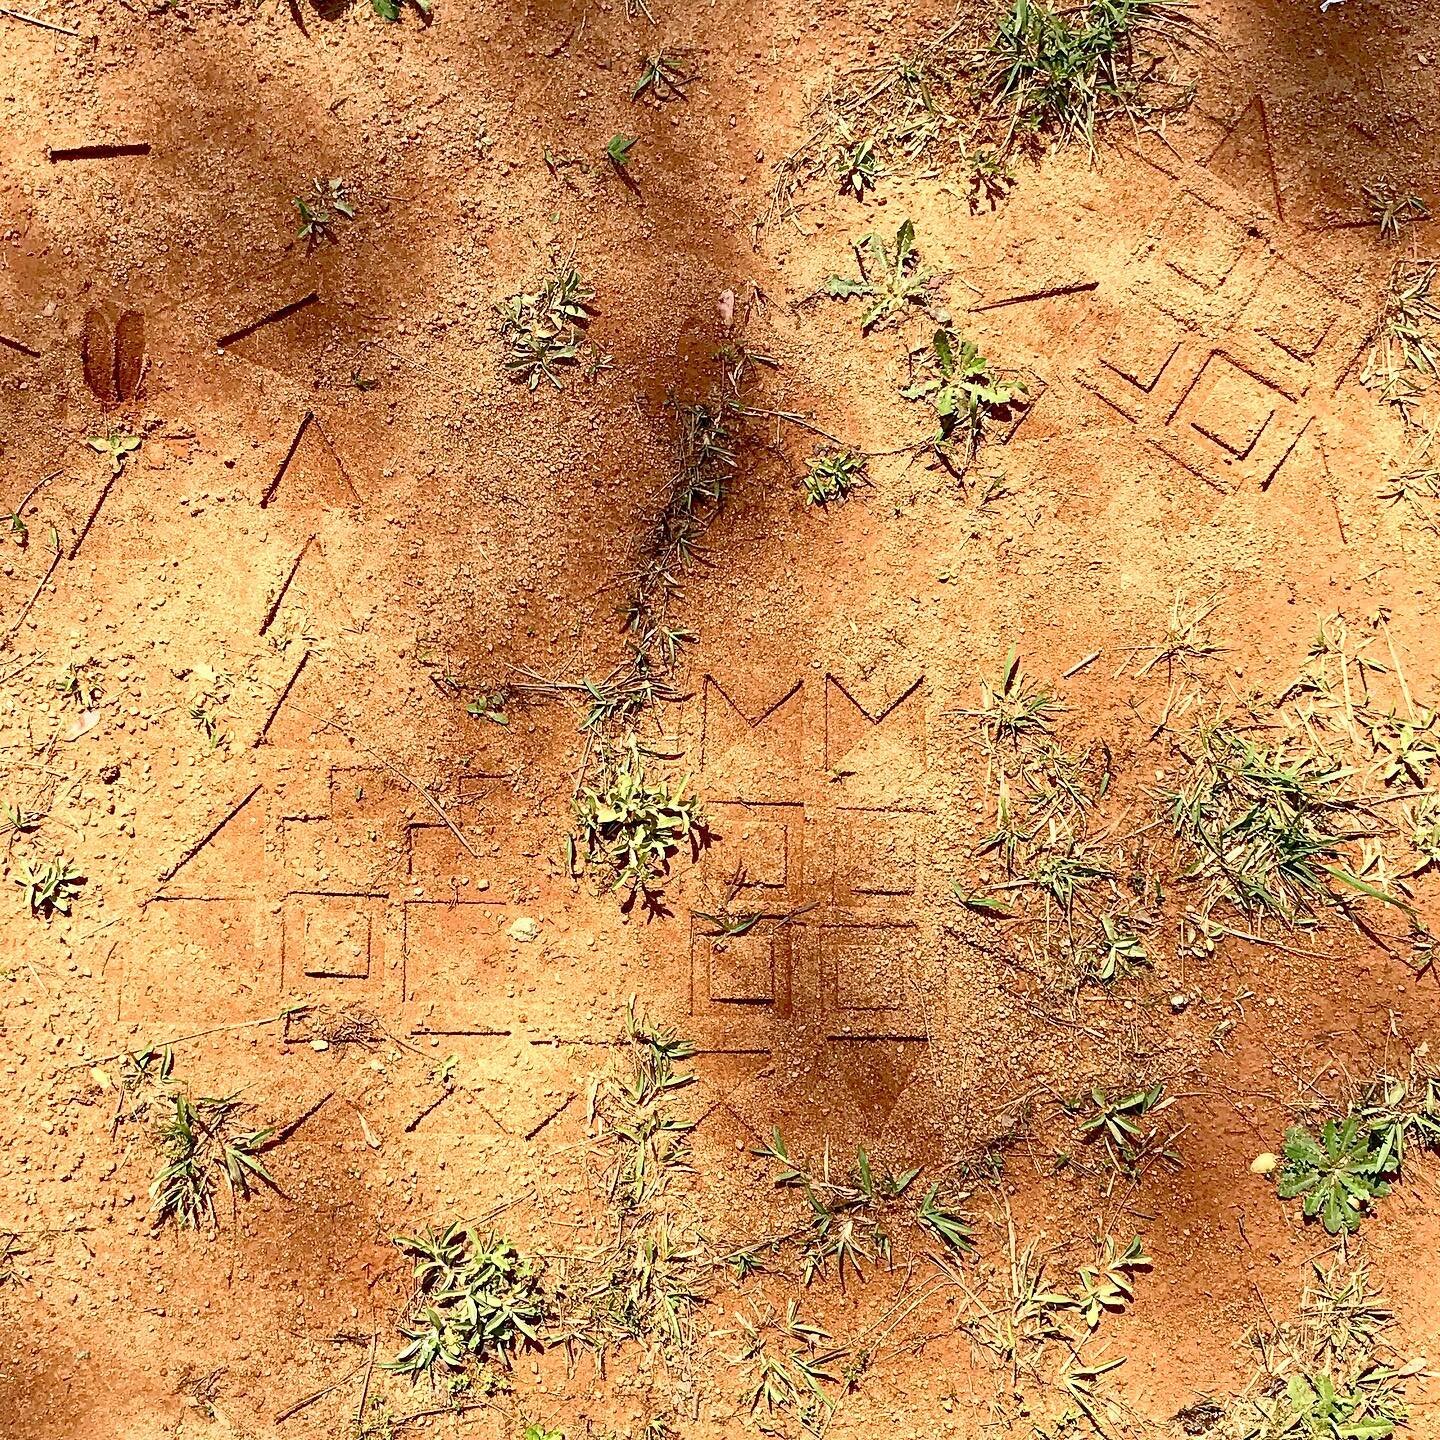
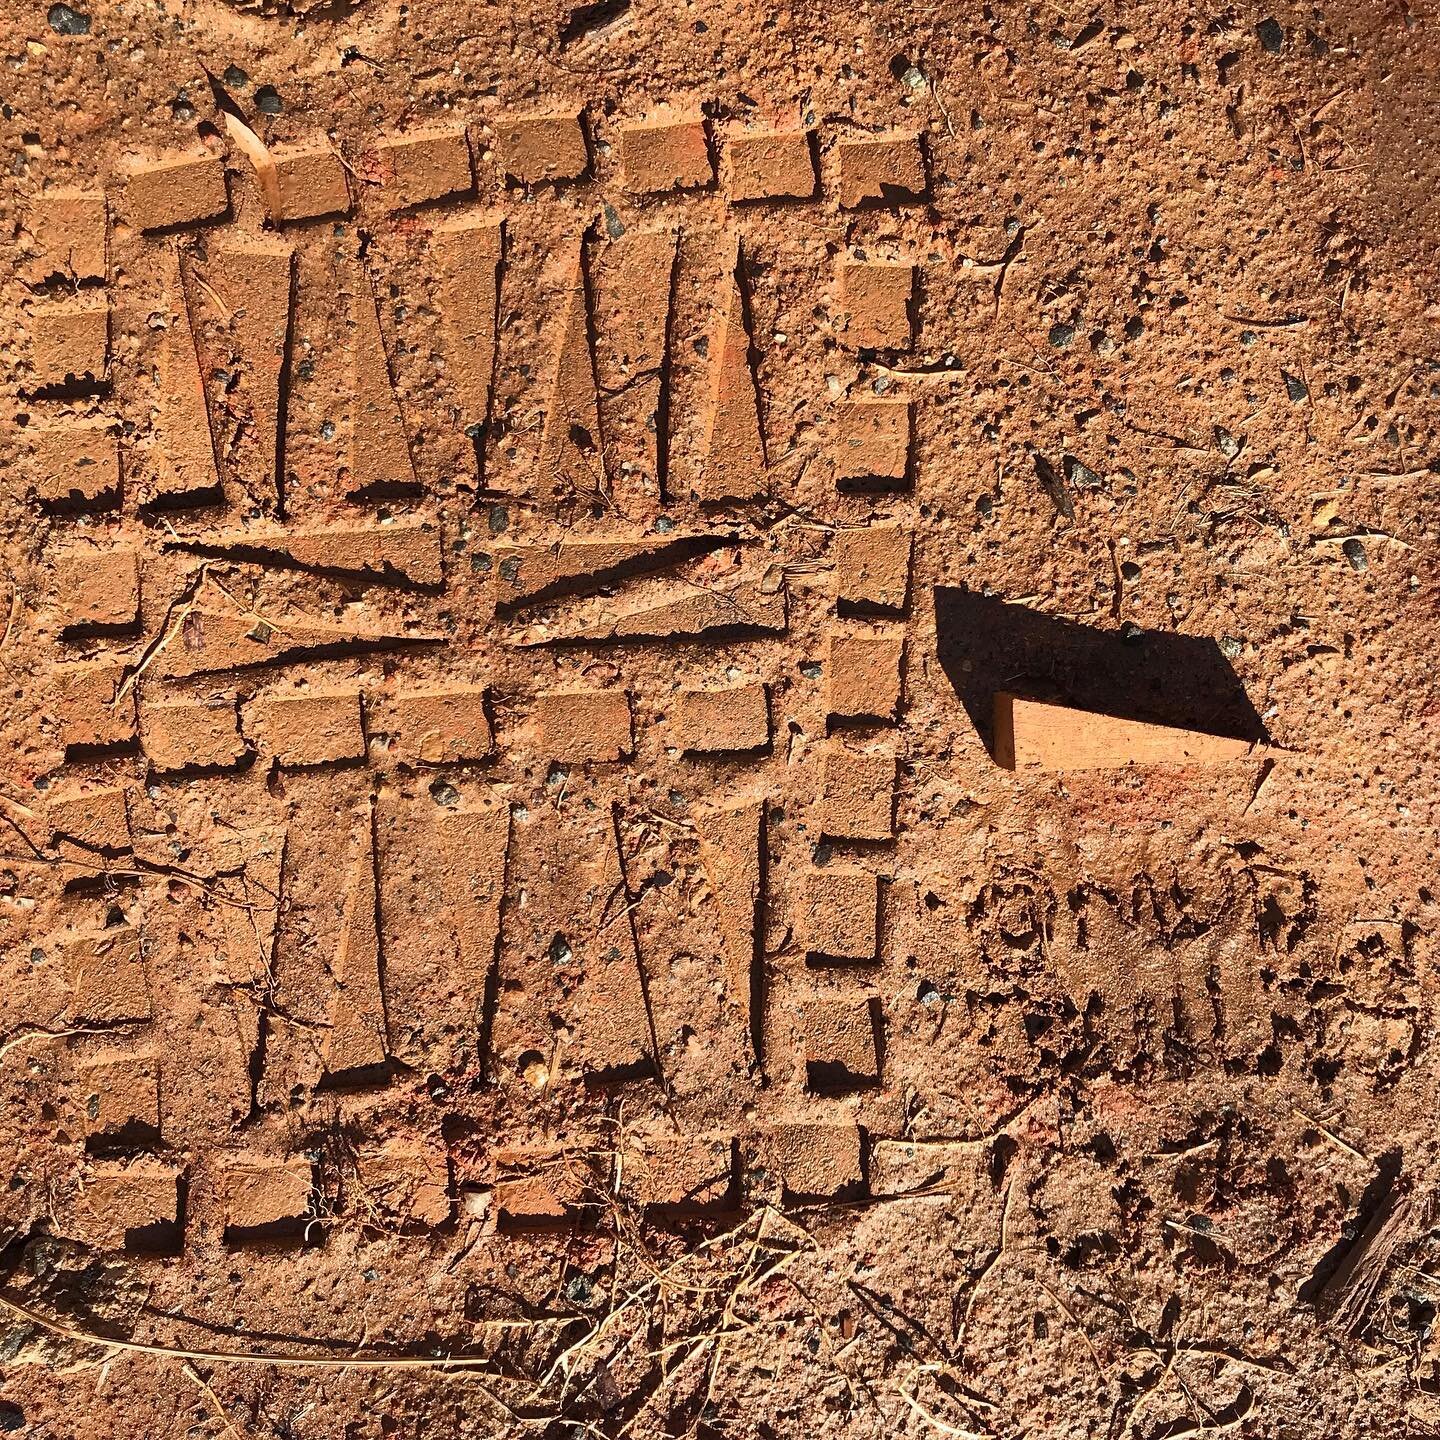
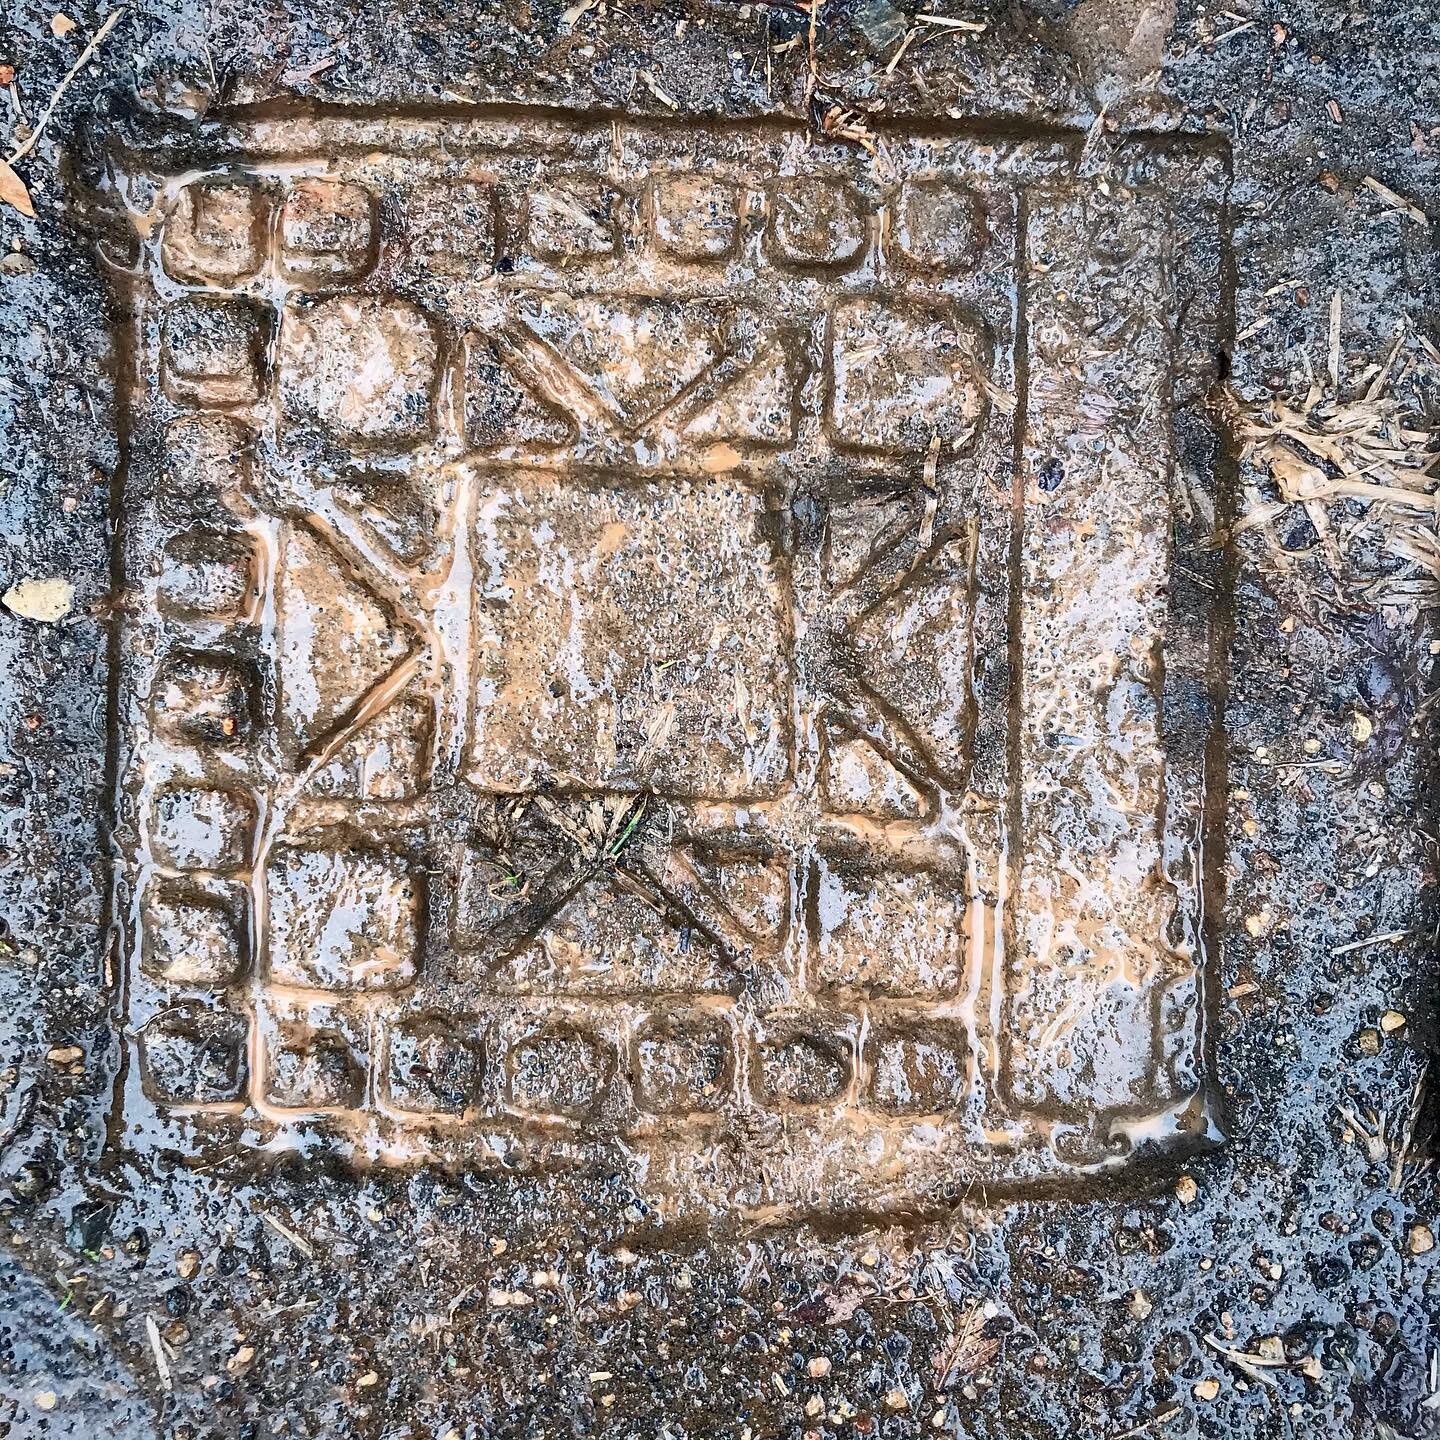
This body of work that I have begun is little more than a sort of scratching or mark making in the dirt not unlike that work we did as children. This native clay accepts my thoughts and intentions, my rhythm, my pattern making, my timidity and holds their form as a memory for a while. These are not stable works as they are susceptible to traffic, construction, and the elements just to name a few vulnerabilities.
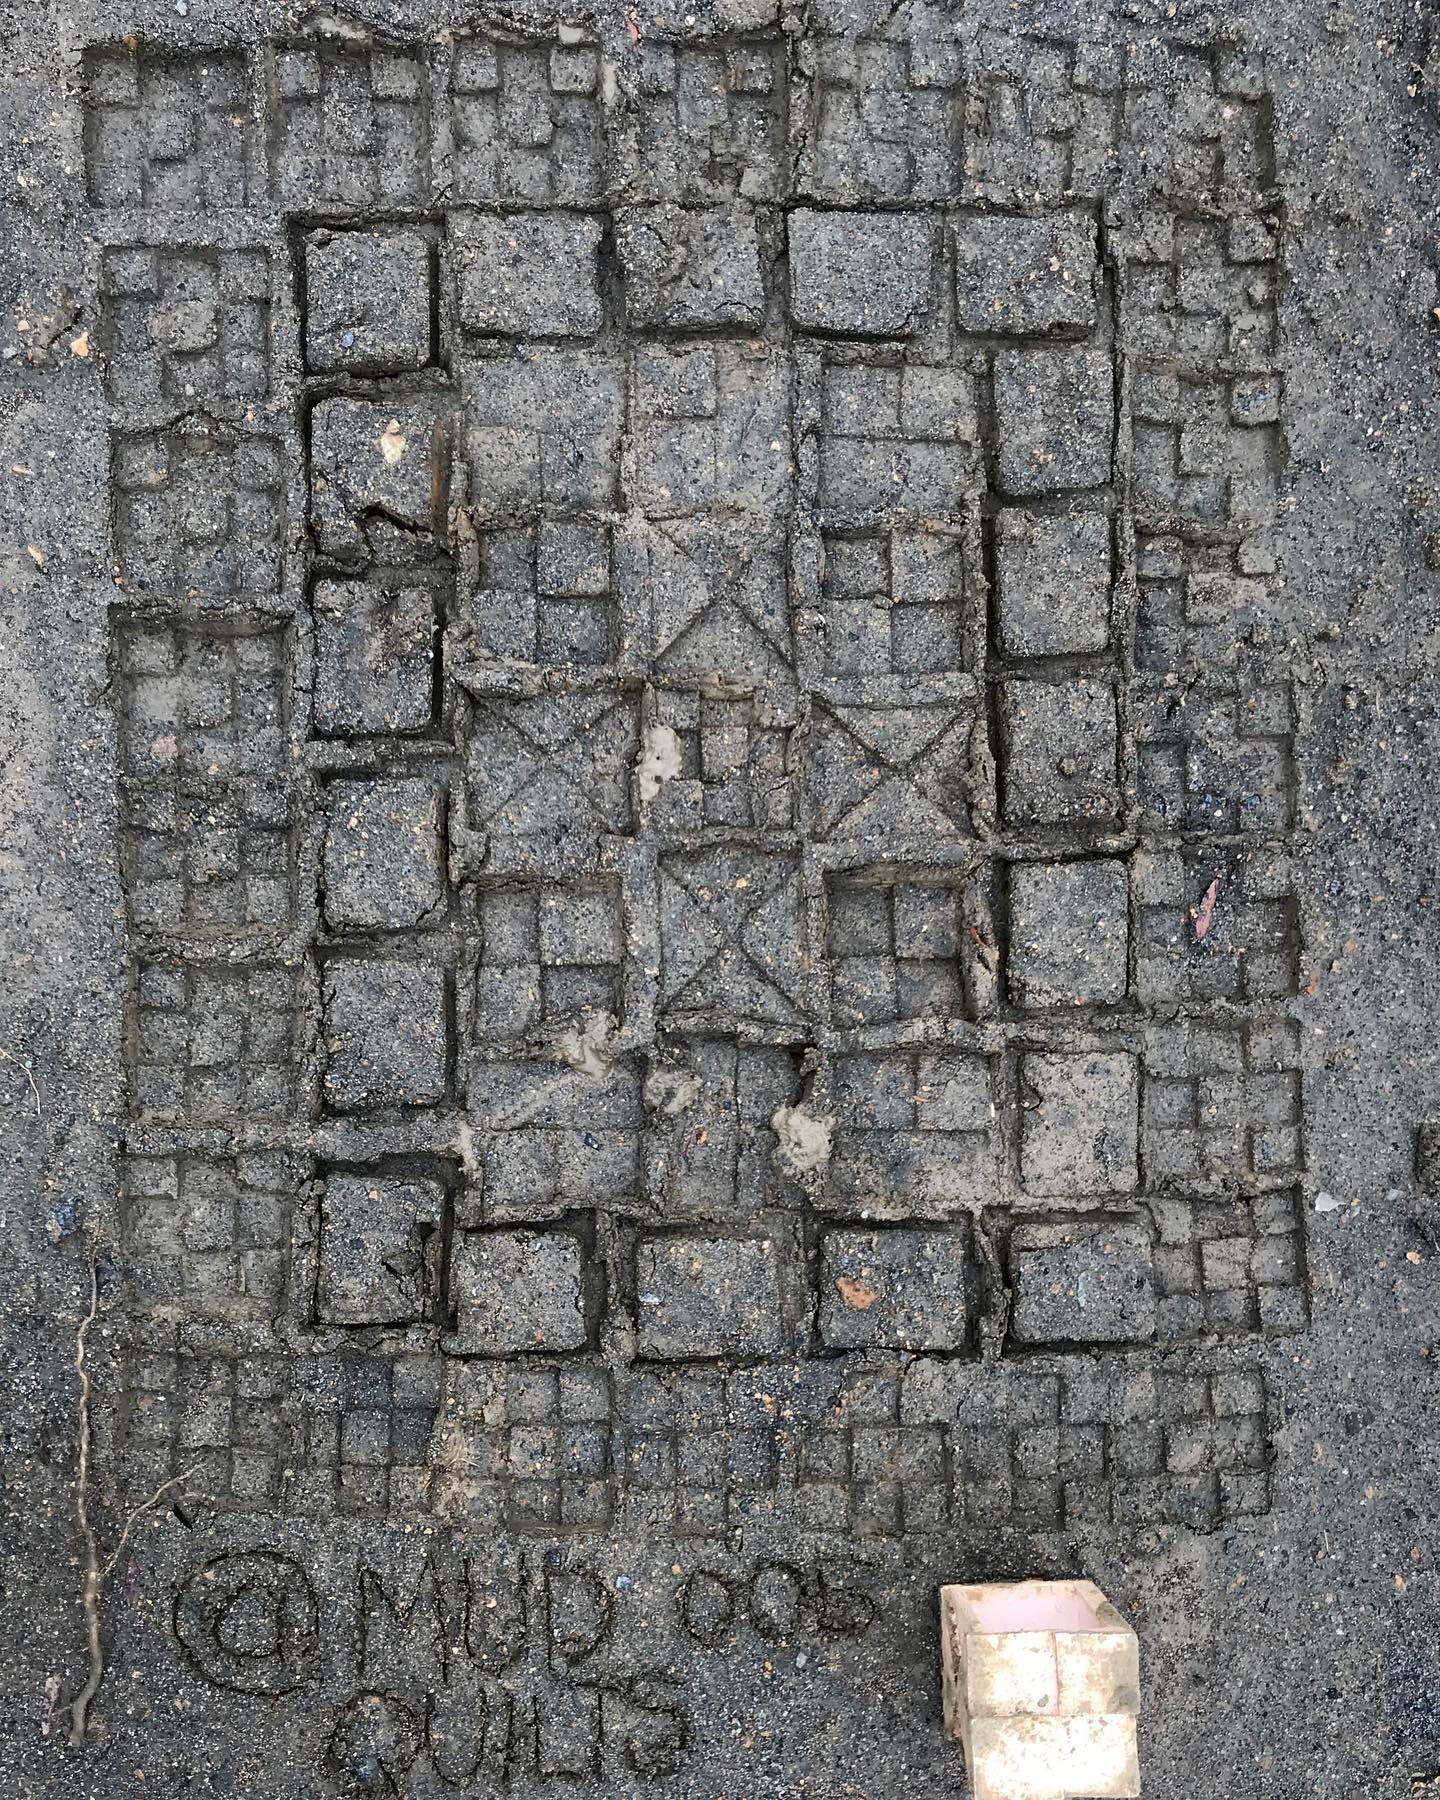
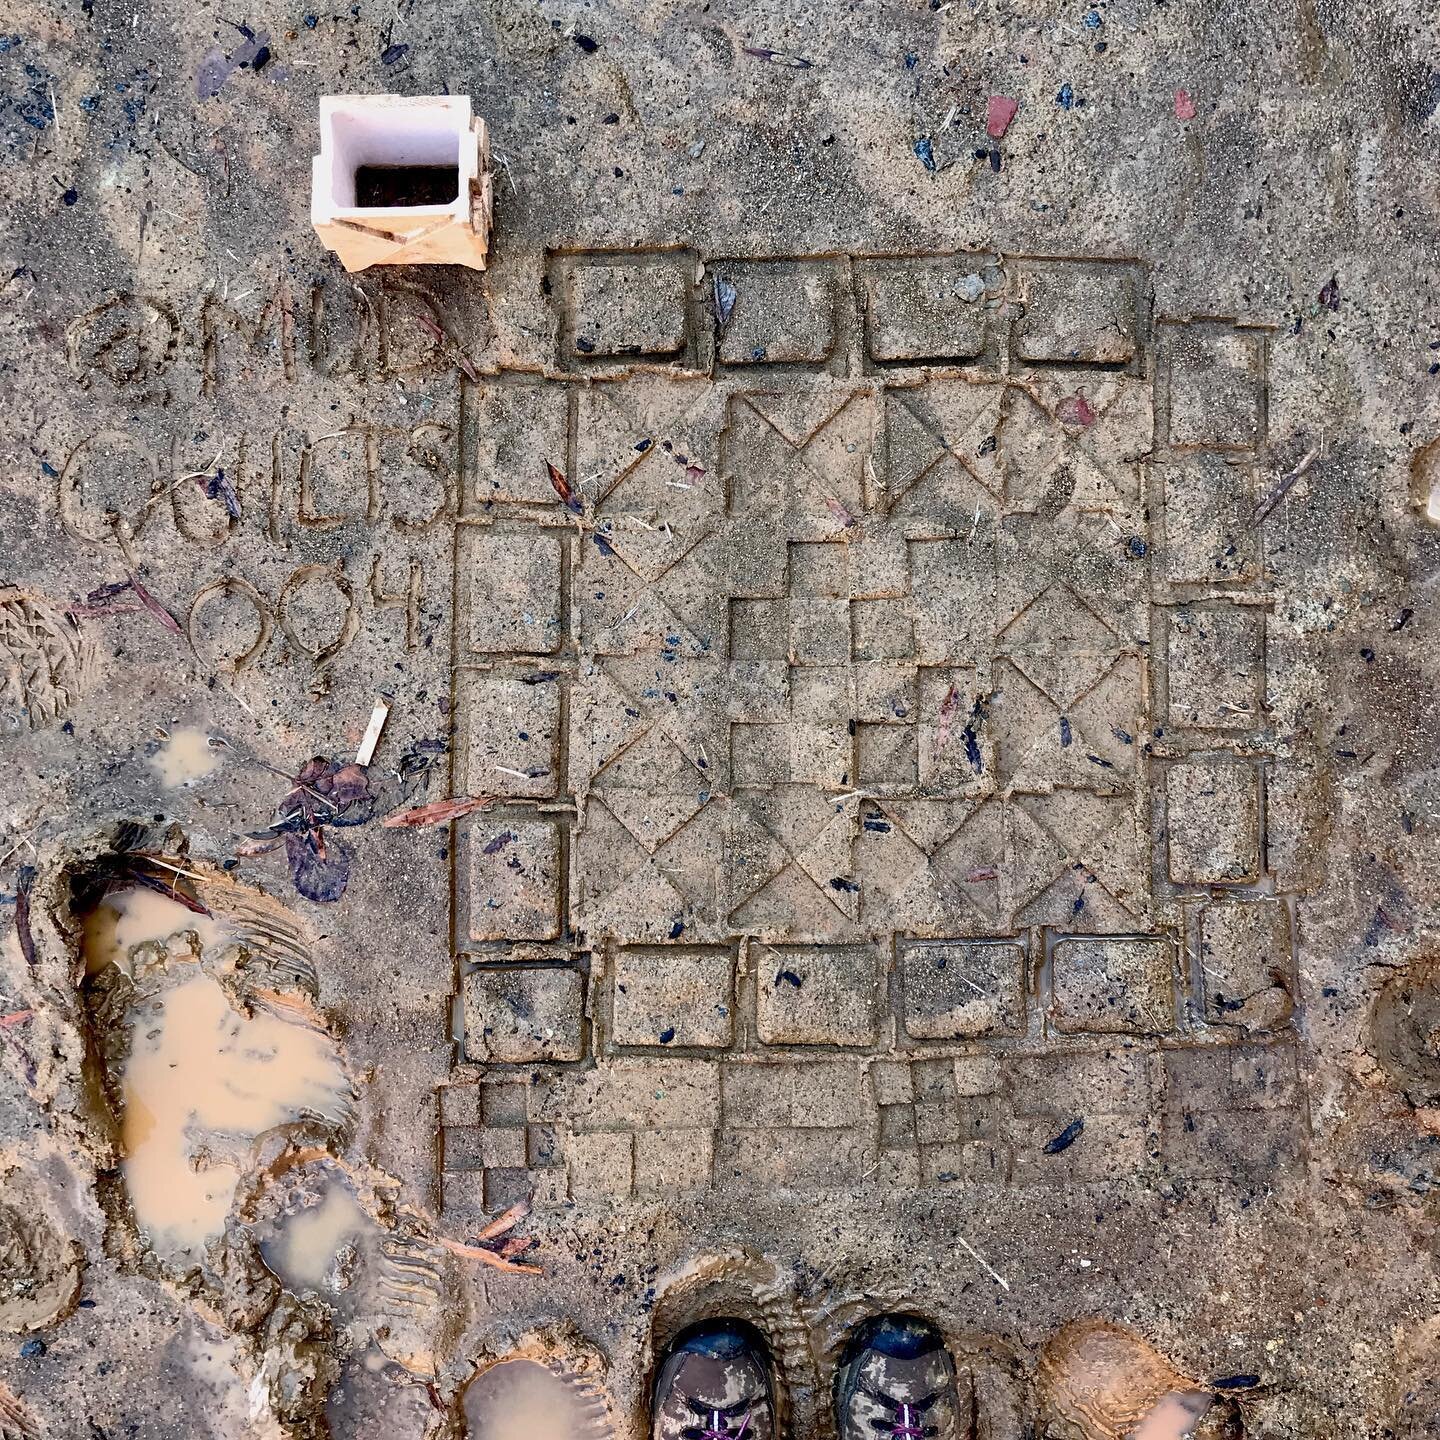
I was able to revisit Impression 003 three days after it was made to document changes in the piece. The clay at the site had a drastic change in color becoming lighter as it dried. The shapes made by the compression of my stamp retained more moisture and were darker in appearance giving the piece a heightened contrast. My lettering which was hardly discernable at all when I created it could be clearly read.

You can see in the cracked and drying clay around the quilt that my work brought stability to the earth at this construction site. The piece survived for many days; even after several rains it was still partially visible.
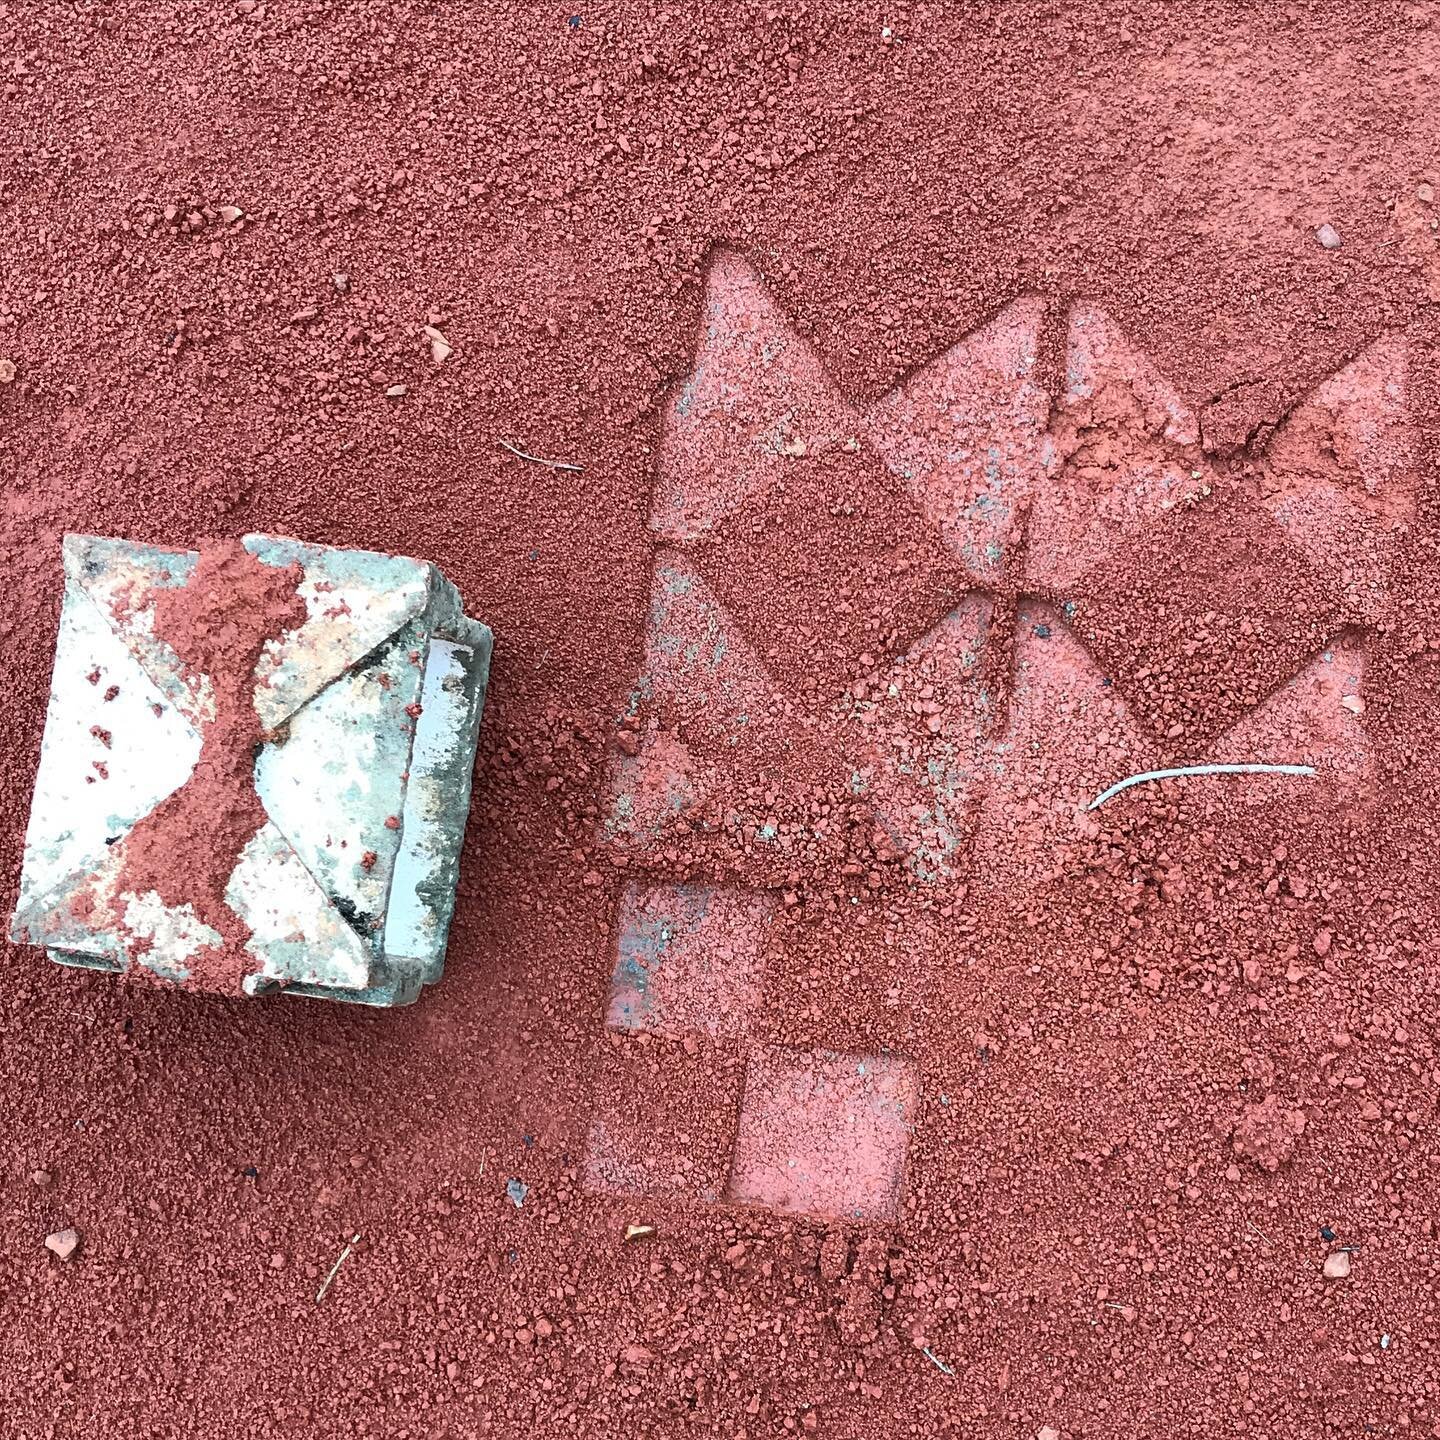
Since this impression I have been working on a bisque stamp with which I hope to make larger and more quilt-like impressions. The prototype is in the kiln as I write. Below you can see a couple of photographs of the stamp in progress:


Experimental Wood Kiln Version 01
This post is a documentation of the building of and the dry run firing of my very first wood kiln. This kiln design is not a copy of a design from any book, website, or video as I don’t have enough bricks or the exact materials for the many many examples that I’ve seen.
Instead what I attempted to do was to take what I know and understand at this moment and the materials I currently have on hand and build something that works. I define working at this moment to be that I can build and maintain a fire and that there is a ‘draw’ that brings flames and heat into the ware box.

First dry run of this very small experimental wood kiln fired on November 10, 2020.
What I have on hand are some kiln shelves from the electric kiln that I am converting and a few hundred fire bricks that I picked up from Craigslist during lockdown. The bricks that I have were fired to and rated to withstand 2000 degrees. While these bricks will not withstand the higher temperatures of Cone 10 firings I’m hoping that I can reach at or near Cone 6 temperatures with them. Of course the kiln design will need modifications and insulation to reach those temps.
Whenever I take on a project like this I always try to involve the boys - and take advantage of their energy and muscles.

Joseph helping to make a smoothe but not necessarily level spot to build on.
I do not plan on building any permanent structures in our current location therefore I am not taking the time to dig and level a foundation for now. I plan to take my knowledge to our property in Appalachia where it makes more sense to make that investment. I’ll be able to take up the bricks and rake up evidence of our work before our house goes on the market.
Below is the foundation level of my design.

In my research one issue many first time kiln builders had was that they made their fire box too small.
As you can see here the fire box is fairly generous compared to the size of the ware box. I made the fire box large enough to slide in the wood grate from our stove but narrow enough to be covered by my kiln shelves. I will have room and bricks to make it even larger at a later date. Another issue that many people had in their first kiln designs is that there was not enough draw to bring heat into the ware box and and not enough air in the firebox to keep it burning.
Another issue I’ve seen especially in very small kilns is that things heat too quickly and there’s no way to control the ramp up of heat. I’m not sure I’m going to be able to do that with my design either but I’ve taken a stab at it. From this side view you can see that I left two small gaps in the sides of the firebox to increase airflow. Because of the wider base I can easily place bricks on the sides to cover or partially close these gaps. My hope is that I can control the size of my flames and speed of the burn with these slots.

You can see from this side view that I left two small gaps on each side of the firebox.
I did not take the time to build a chimney on this kiln. My ware box is small and I made it only tall enough for the small pieces that I’ll be test firing in it. Instead I placed bricks at a 90 degree angle. These bricks can be removed to add trash or soda or to open up like a damper. I left this one gap open - this is the main source of air for the draw in my kiln. I have the ability to stand or lay a brick on these steps to completely close or partially cover this opening. In effect it’s a very simple damper.

You can see from the back design of my kiln how I tried to use my lack of half bricks to my advantage.
Because I built without a plan I had to respond to design problems on the fly. There was a gap between the top of my firebox and my ware box. I decided rather than tearing down and redesigning to instead turn two bricks on their sides to cover the hole. I’ll keep this issue in mind when I do the next build and think ahead about how to approach this flaw in my design.

I’m including this photo to show how my kiln was designed ‘on the fly’ so to speak.

Closing the gap.
I was surprised by how easy this kiln was to stay lit and draw. The ware box heated up nicely. I have a new pyrometer that I’ll be figuring out how to put together and use today. When I fire I’ll also be placing cones in my ware box to help me know just how high of a temperature I can achieve with this simple design.

Here you can see the flames moving into the ware box.
There are a three simple things that I know will improve even this simple design. The first is adding insulation. If I elevate the kiln off the ground on cinderblocks that will provide some help with loss of heat to the ground. Even better would be to put a layer of soft brick between the hard brick and the cinderblock. I think I have enough soft brick to insulate the bottom of a small ware box.
The second is sealing the cracks between the bricks on the ware box. I could add a layer of ceramic insulation to the lid and or sides or just use some waste clay.
The last is to choose my fuel carefully. Using a dry wood with a high heat value would work better than just burning what limbs and such are laying on the ground. I’ve saved a few scraps from our wood shop but a visit to a saw mill would be better.
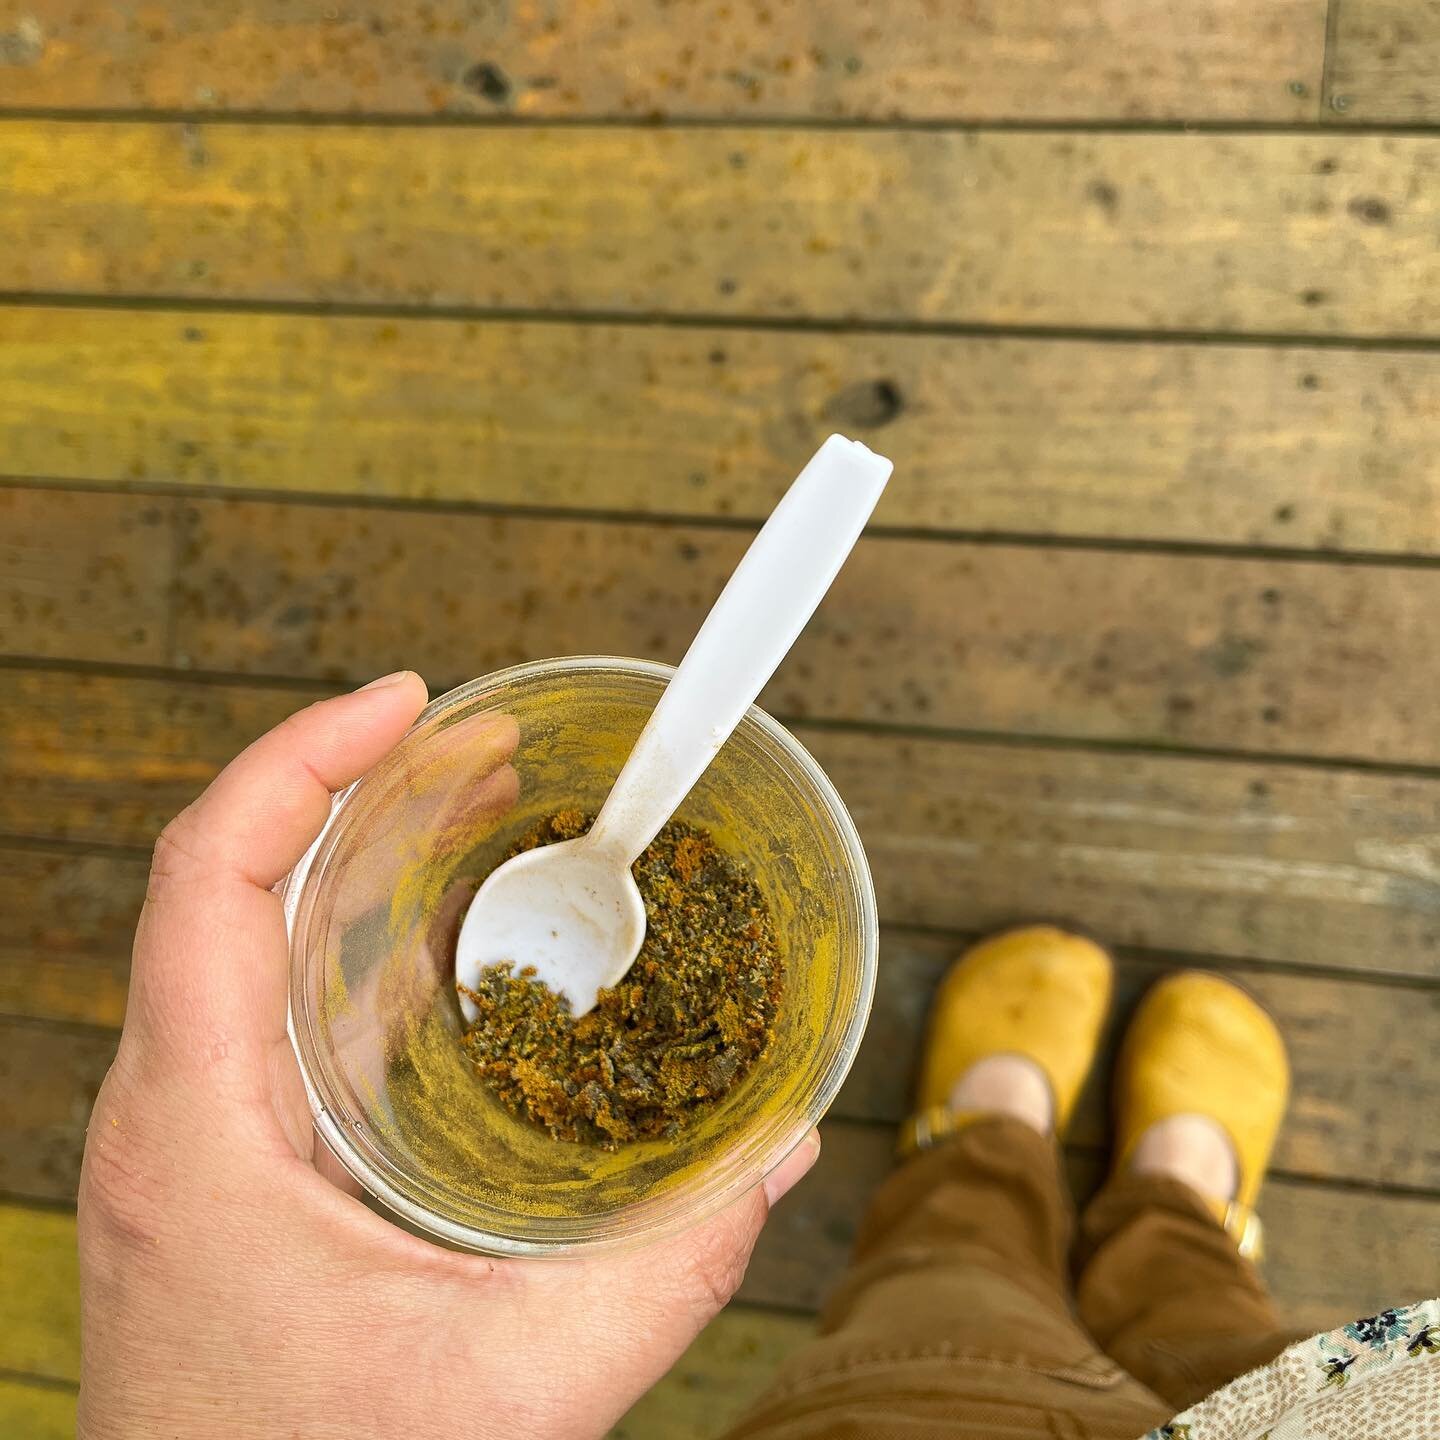
Today I am going to learn to use my pyrometer and make an experimental wadding using waste clay, coarse sand and fine sawdust. I’ll update here with my results when I’m able to do a complete firing.
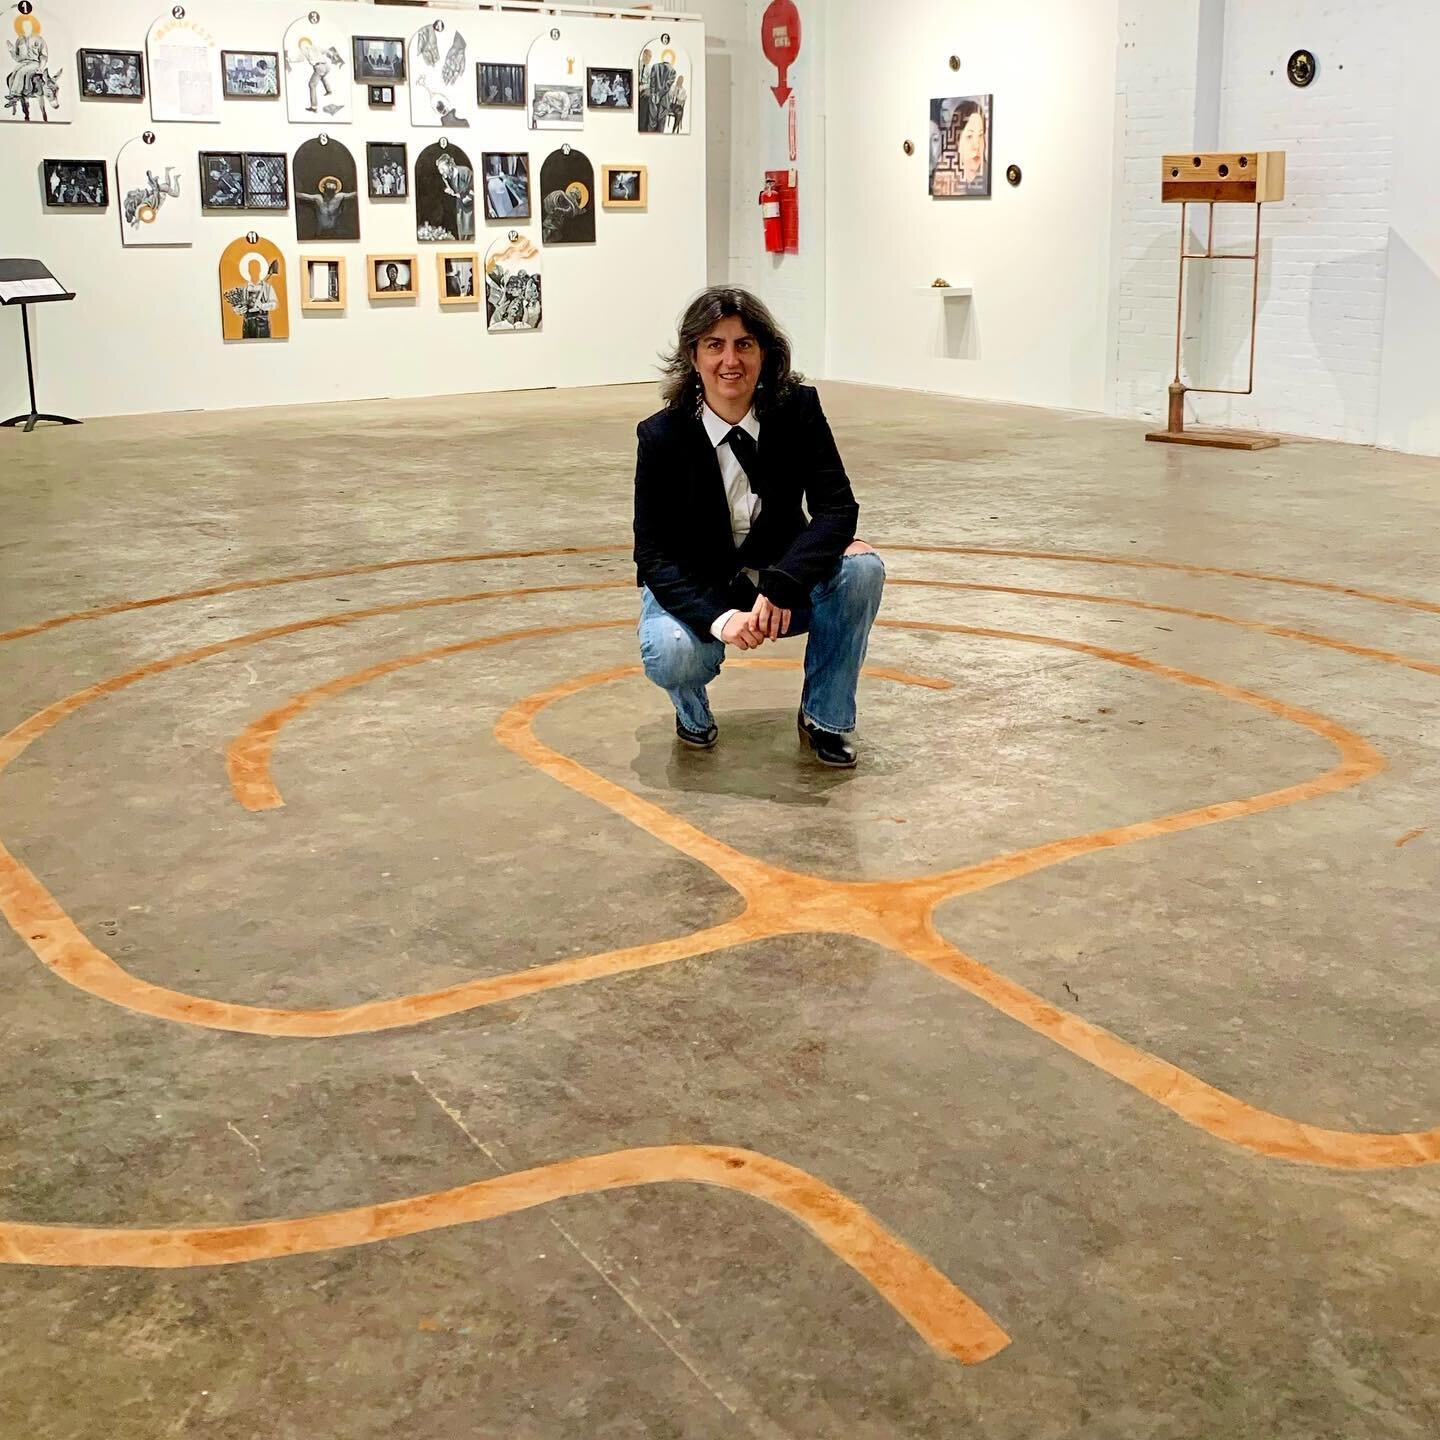
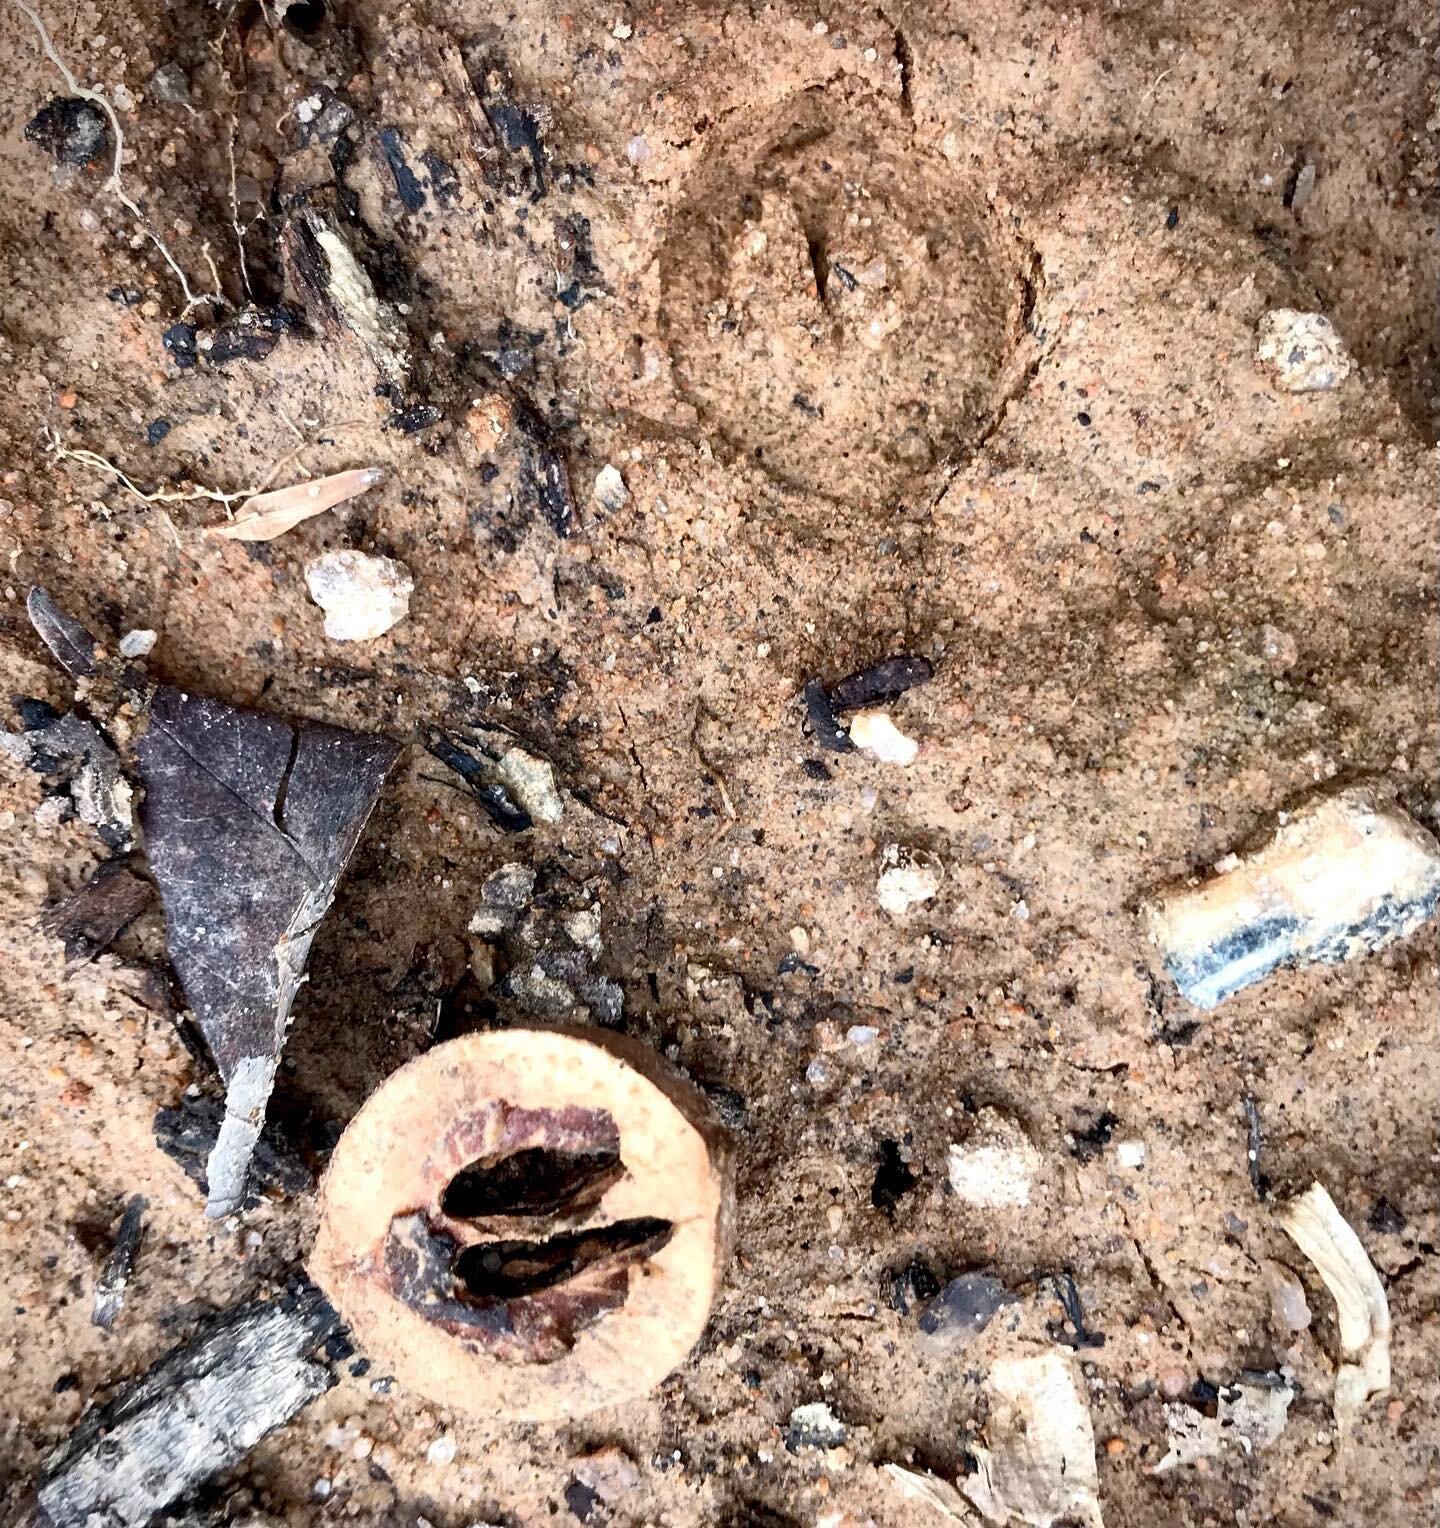
Beginning Anew
A blog about beginning anew with ceramics after more than twenty years away.
There is no way to begin again except to write the first word and post a new picture.
First, I’m just going to show you a picture of something that I worked on today and then in some later post I’ll try and explain more about what has happened in between the freelance graphic design and illustration work you see on my website and the work in this photograph:

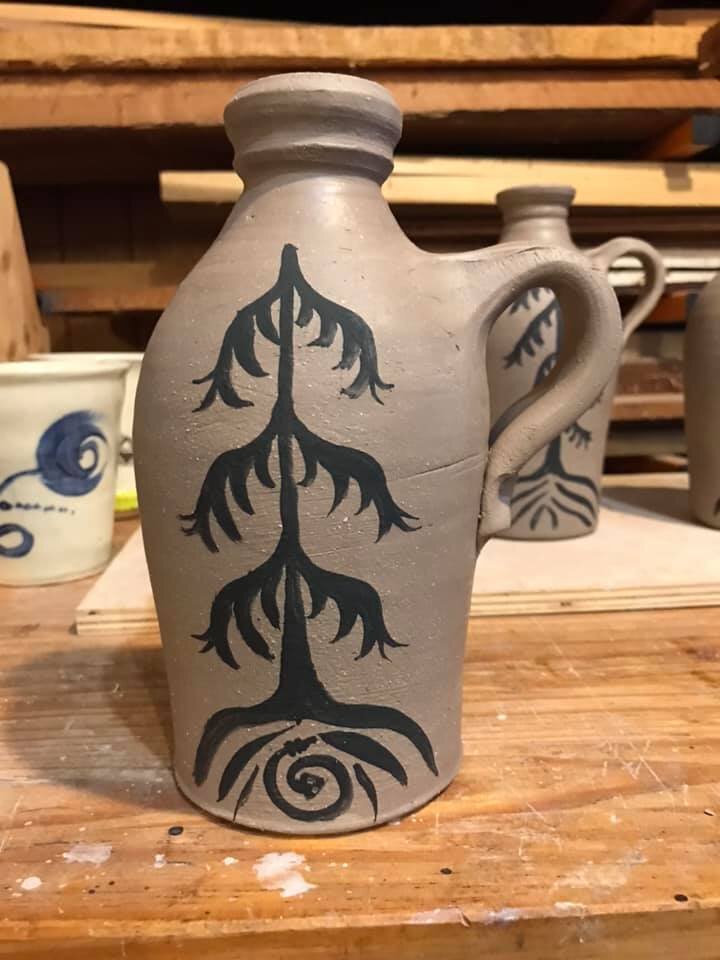
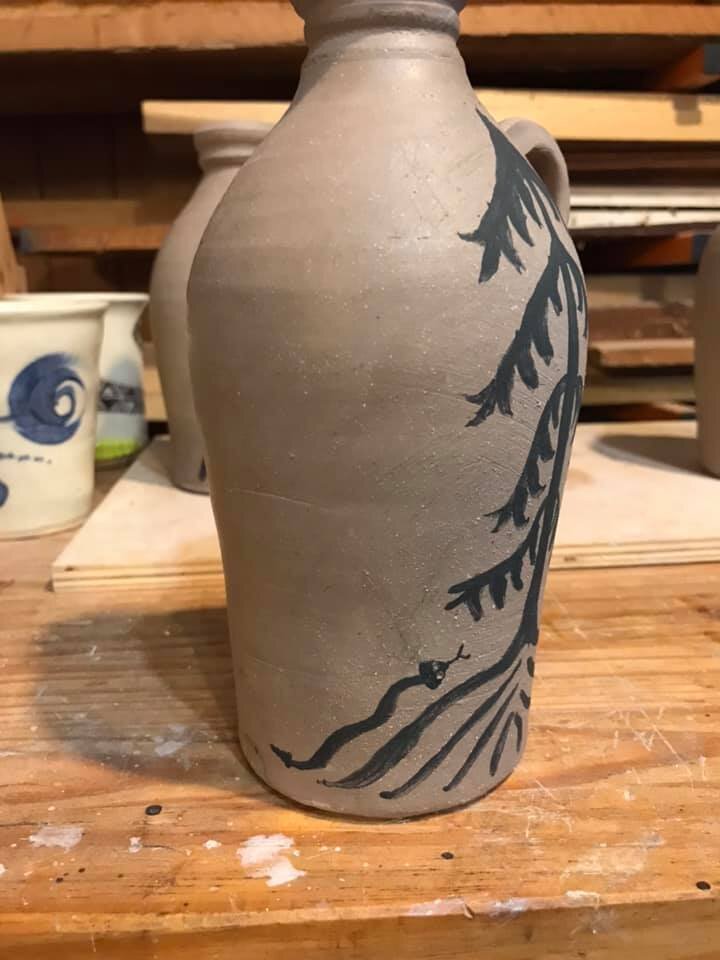
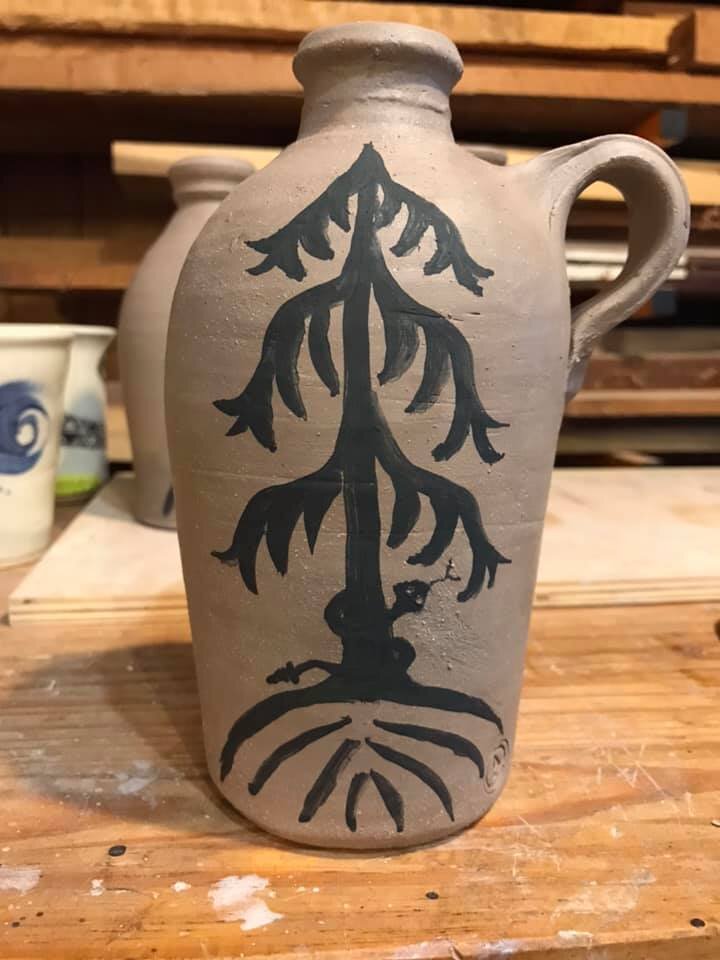
Small Story Jugs – Rattlesnake Series 01
The decorations on these jugs were drawn from a previous sketch piece:
I really like the repetition in this cylinder between the fruit tree and the evergreen tree and how they fill the space on the cylinder. I am also trying to be conscious of my studies of Walter Anderson and his design work as I paint. When I first saw his ink sketches in his museum in Ocean Springs, Mississippi I was so drawn to his use of near symmetry.
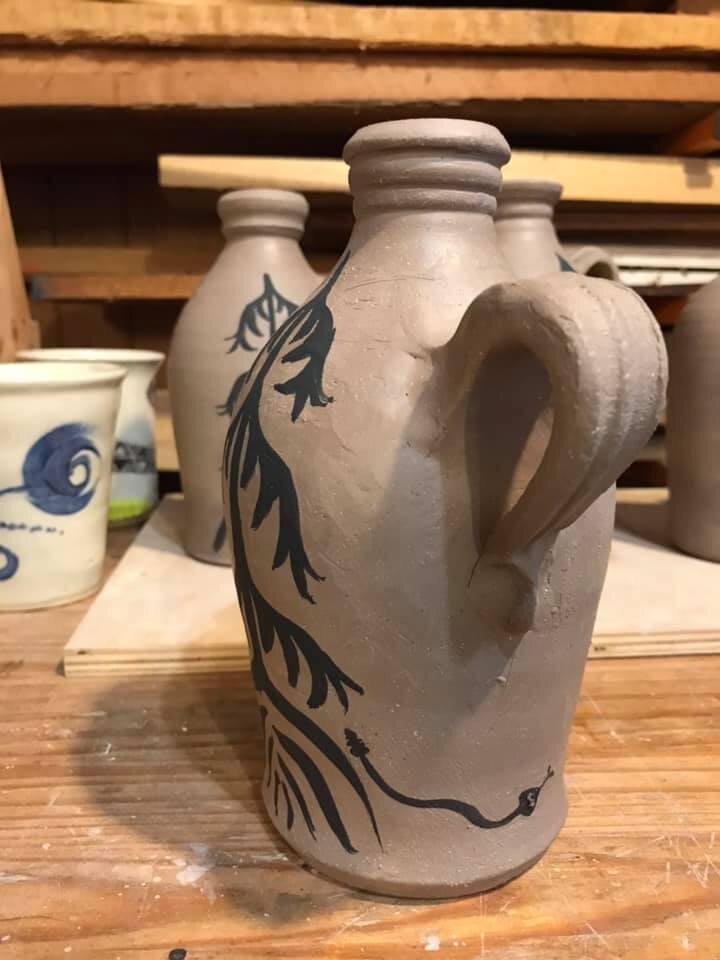
To the right are some close up pictures of the snakes in this series. I like that they are connected but not tied together – the jugs can be rearranged and the story shifts slightly:
I purchased new brushes after completing my sketches but I still need a lot of practice painting on a curved surface. These are all done freehand with no sketching but I also I need more practice controlling the movement of my brush right to left.
In the jugs I focused solely on the evergreen form. As I paint I am trying to communicate the shape and feeling of our native hemlocks whos majesty we have have almost entirely lost in the last decade.
As for the jug forms themselves I really like the shapes that I achieved and am especially happy with the necks and rims. I trimmed the feet on the wheel and rolled the foot to create just a slight shadow as the jug sits on the surface.
I still have much practice to perfect handle pulling. These handles were first attached to the jug and then pulled. A couple I redid – one more than once. I like leaving finger marks.
I will be exploring these little vignettes further in work to come.
Support My Projects
If you like what you read and see here and are interested in supporting my work feel free to click the button below.
mud quilts project


Personal Instagram